Touch Points on Touch Probe Measurement
Touch probe measurement handles a variety of applications, but has some limitations when it comes to technology and applications. Consider specific features when selecting an appropriate measuring method.
Small, turned parts can be difficult to inspect. Because of their size and features, choosing the best inspection method can be challenging. Some inspection methods yield better results than others, but it’s critical for shops to take into consideration several factors to achieve optimal results.
To determine an appropriate inspection technique, potential users should consider a round sample part smaller than 2 inches with some standard tolerances and features. This article will cover the following tolerance types: diameter, radius, roundness, concentricity and threads.
Featured Content
Diameter
Diameter is a feature commonly measured with touch probes. Typically, diameter is measured by placing the part in a vertical orientation and measuring points along the outside of the workpiece. Accuracy is dependent on both the number of measurement points and their location. Seven or more points should be used to eliminate touch-probe lobing.
The points should be measured along the perimeter of the workpiece to encompass the greatest area of the circle. This allows for complete coverage of the workpiece and ensures the circle algorithm is provided with a proper data set. Caution should be taken on short arc segments, since these are actually radii and not diameters.
Radius
Radius measurement is one of the most difficult measurements on cylindrical workpieces because many of these are small. The general rule for measurement of a radius is that if the radius of the stylus is larger than the radius to be measured, then it cannot be acquired. Many customers find that an optical method is better suited for this measurement. Alternate measurement techniques include contour measurement systems and profiler devices.
Additionally, radius measurement is subject to the number of points and form error associated with the point collection. A touch probe system generally uses a least-squares method of calculation, which traditionally has a difficult time processing a circle algorithm if both point and form data sets are insufficient.
When taking a closer look at how the number of points affect radius measurement, users will see the circle algorithm is highly dependent on the points encompassing a large arc segment (more than 45 degrees). Measurement of a short radial segment can cause errors in the size and location issues; repeatability of the form is a key contributor as well.
Here are some rules of thumb for measuring radii:
- Measure a large arc segment.
- Use more than the minimum number of measurement points (more than three). Doing so will provide a roundness (form) result. This result is critical to determine if the radius measurement is repeatable and accurate. The larger the form error, the more likely the feature measurement is affected by variability of point data.
- To improve radius measurement, increase the number of points, examine the points along the radius measurements for overlapping or expand the measuring of the arc area.
Roundness
The roundness measurement on a cylindrical part is common with a touch probe measuring system, yet it is a misconception that this is a best practice. While many quality professionals feel that this is the best method for in-process inspection, there are a few rules to consider before using tactile probing methods to guarantee roundness. Many turned parts have a roundness callout with tight tolerance parameters.
Here are considerations for tactile touch probing when evaluating roundness:
- Is the roundness tolerance specification more than a quarter of the stated accuracy of the touch probe device/measurement system? If so, system measurement error could account for a large portion of the tolerance zone. This is not recommended, as uncertainty error influences may make the system incapable of obtaining the roundness.
- Touch probes have a profound effect on roundness. Mechanical/electrical probes can have an error of many microns and create a triangular shape known as probe lobing. Strain gage touch-trigger probes work in a different method and have a reduced probe lobe effect, which renders them a better choice for improving roundness measurements.
- The best way to check lobing error is to measure a known diameter ring gage with 25 equally spaced points. Use software (or export individual data points to an Excel XY chart) to display the point data. Calculate the measurements’ effectiveness using two factors:
- Form error: Is it within the limits of how much percent of tolerance you are comfortable with?
- Lobing error: In the diagram, is the triangle created by the point data visible? Examine the point data distances to ensure that too much of the roundness tolerance zone is not being used.
Many people want to use the touch probe method to evaluate and grade roundness, but caution should be taken because of the inherent weakness in the probing and measuring system. There are specific roundness systems that are designed to provide a more comprehensive and accurate evaluation of this tolerance.
Concentricity
Concentricity measurement is a common application for touch probing and is ideally suited as a probing method. Some general best practices should be followed when applying this tolerance type:
- Make sure to measure the full circle of each hole. The concentricity tolerance uses a reference feature, so be sure to measure the diameters in their entirety.
- Measurement of partial circles is difficult to use, because the circle segment calculation is subject to the repeatability issues described in the radius measurement section.
- Feature form errors can influence concentricity, so keep a watchful eye on the features’ roundness.
Thread measurement
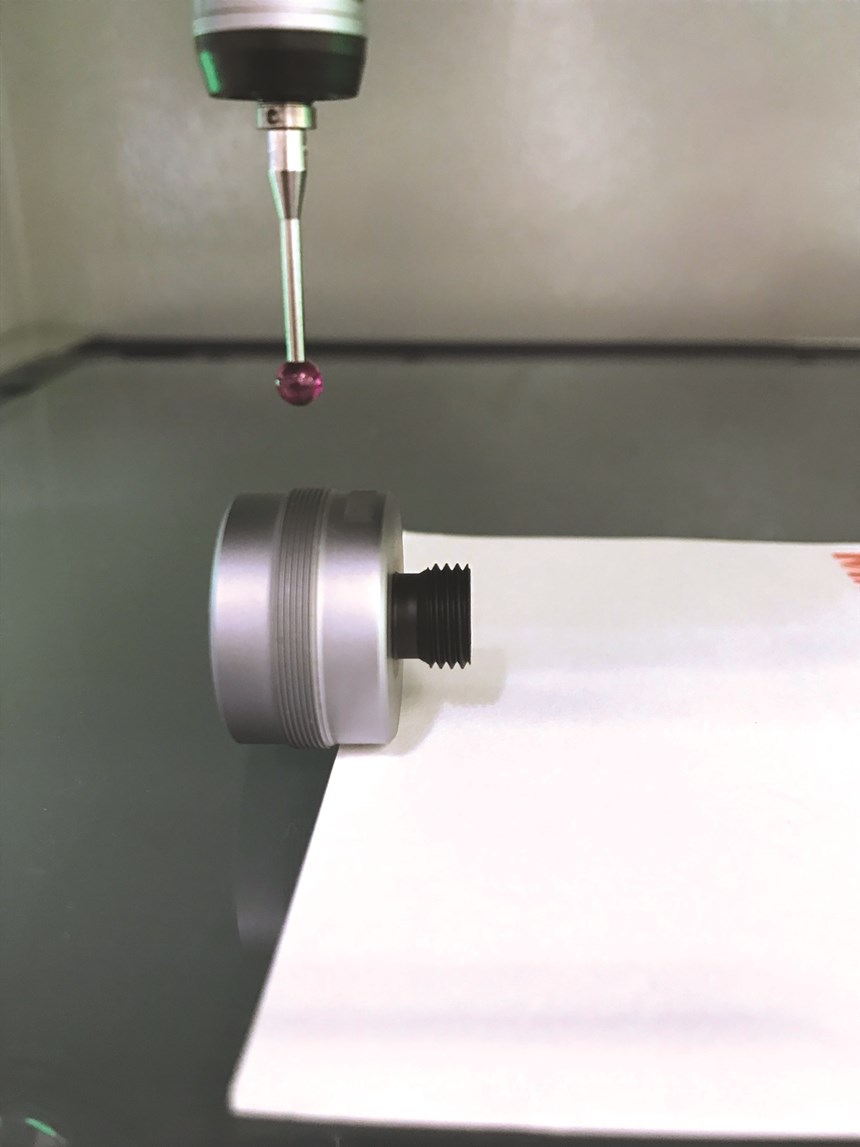
Thread measurement is difficult for the probe evaluation method. Typically, the stylus radius exceeds the size of the thread area. Threads have distinct evaluation parameters beyond the general measurement scope of CMM software. It is possible that with a micro stylus (or point stylus) that thread evaluations can be accomplished. Some general rules to consider:
- To measure thread profiles, the stylus radius must be small enough to capture the thread detail below the pitch or root diameter.
- Scanning is the proper method because data details must be acquired for angles, root, minimum/maximum and pitch diameter.
Many customers will use alternate methods for thread measurement such as contour and video systems, which are better suited for this type of feature evaluation.
Touch probe measurement handles a variety of applications and is appropriate for round, circular parts. But the method has some limitations when it comes to technology and applications. Consider specific feature types before over-extending the system.
RELATED CONTENT
-
To Scan or Not to Scan
Industrial metrology professionals are constantly tasked with finding the best methodology to inspect parts.
-
Measure 3D Parts Without Losing Time
This high-speed metrology and inspection system is said to process complex geometries faster than traditional inspection methods.
-
An Overview of Metrology for Precision Machining
Metrology helps precision manufacturers ensure the parts they produce fit and work as intended, despite the different languages, processes and measurement systems used.


