The Value of CMM Controller Retrofits
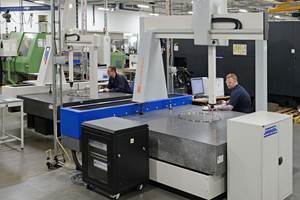
In this case, new controllers for two coordinate measuring machines — one 26 years old — with new programming software offers the possibility to enable multisensor inspection of critical, turned aerospace components.
#techbrief
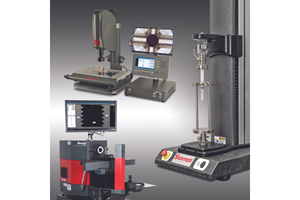
Starrett Measurement Systems Provide Repeatable Results
The company’s optical and video-based measurement systems combine high-resolution images, intuitive software and precision mechanical platforms.
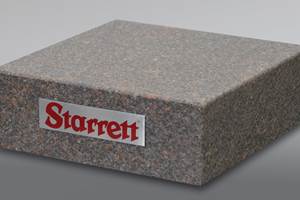
How Well do You Know Granite Surface Plates?
Here are some tips for choosing, maintaining and customizing a granite solution that will best meet your shop’s particular inspection needs.
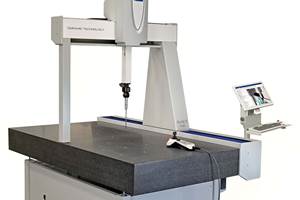
LK Metrology CMM Optimizes Measurement Cycles
Altera C HA ceramic-bridge CMMs provide volumetric accuracy from 1.3+L/350, repeatability from 0.0013 mm and scanning accuracy from 0.002 mm.
Does a Scanning Probe Make Sense on a Swiss-Type?
Swiss-types have limited tooling capacity, but there can be advantages to giving up some of that capacity to take advantage of a touch probe — in fact, a scanning probe — to enable in-process part measurements.
#techbrief
Keeping Watch on Small Parts
From watch parts to exotic medical applications, this shop takes on the world of micromachining.
#micromachining
Siemens CAM Software Update Provides Streamlined Workflows
NX for manufacturing features new product updates to NX CAM, NX CAM On-Machine Probing and more.
Zeiss Software Increases 3D Measurement Data Compatibility
Zeiss has launched Zeiss Inspect, a system-independent data evaluation for optical and CT measurement data.
Verisurf Announces Software-Integrated CMM Sales Platform
The platforms enables customers to source new and pre-owned CMMs powered by Verisurf software.
Addressing Machining’s Necessary Evil
Many view quality control as such, but integrating new measurement technologies and approaches can ultimately minimize QC’s impact on throughput and a company’s bottom line.
#columns


