Manufacturing Efficiently at a Micron Level
Grinding very small-diameter instruments for use in medical procedures is a niche business for this micro-grinding machine manufacturer. The company makes machines that use a variety of grinding techniques to manufacture guidewires for the medical industry.
#micromachining
Centerless grinding is one of the grinding methods that can be applied to micromachining. It is applied in medical, automotive and aerospace manufacturing where parts’ diameters and tapers are generated at extremely tight tolerances. The surface finishes that grinding can achieve are key to these applications. However, applying the centerless grinding process can often be arduous, time consuming, costly and inefficient. In addition, most centerless grinding machine companies focus their efforts on parts more than 0.125 inch.
Glebar Company, a New Jersey-based engineering and manufacturing firm, has developed a line of grinding machines to micromachine very accurate parts.
Featured Content
What are Guidewires?
Since 1952, Glebar has focused on very small diameters, which became more significant with the advent of cardiovascular devices developed in the 1960s. The company pioneered the process of grinding guidewires used in minimally invasive surgery such as balloon angioplasty procedures. Its machines were able to achieve diameters and tapers down to 0.002 inch using centerless grinding techniques—a dimension thought unfathomable by most other centerless grinding manufacturers at the time.
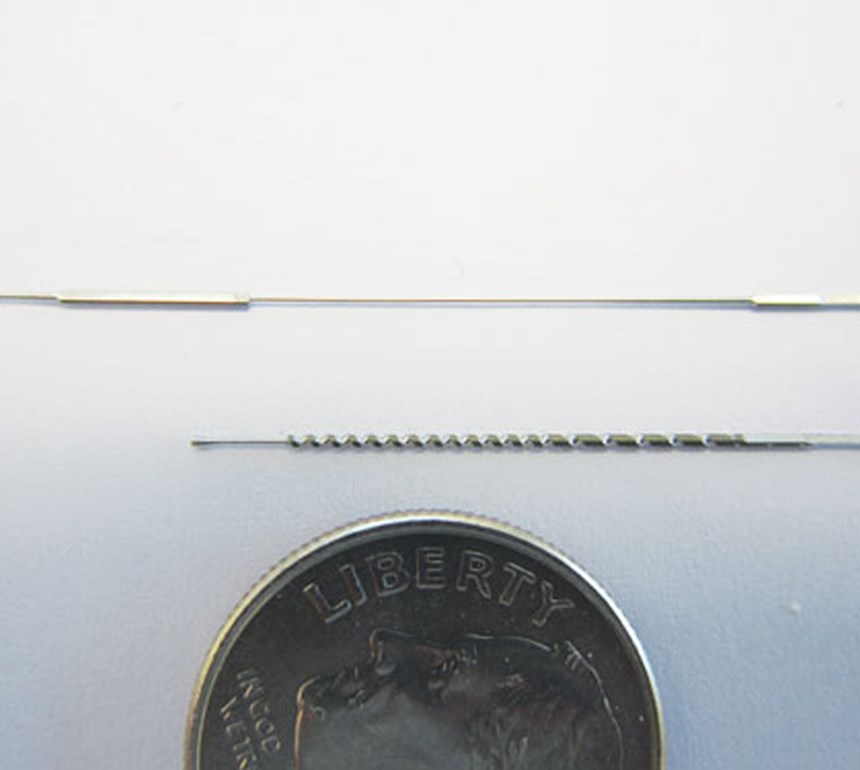
Guidewires, which are thin, flexible medical wires inserted into the body to guide a larger instrument, are used in a range of medical procedures, including coronary, vascular and peripheral surgeries. Because of the small incisions they make and the short hospital stays as a result, minimal invasive surgical procedures that use guidewires have gained popularity. They can be made of various materials, most commonly stainless steel and nickel titanium.
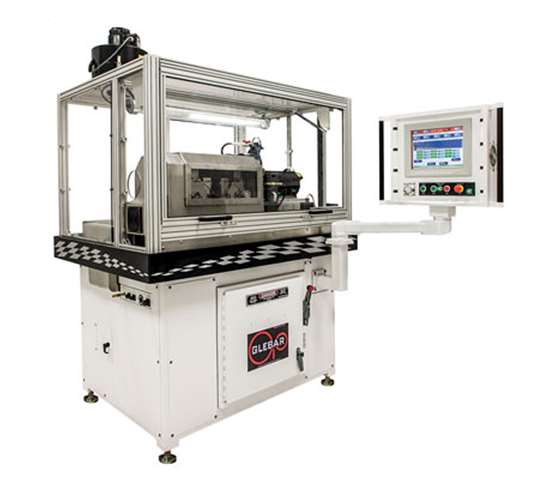
Glebar’s CAM.2 micromachining center can grind shapes into wires of unlimited length with diameter resolution of 0.00004 inch. But beyond guidewires, the machine’s ability to produce flats, radii, needle points and non-linear shapes has opened up new fields of possibility for medical, dental and other industries. Automation, integration with customer CAD/CAM systems, and the machine adaptability to a variety of applications make previously unproducible parts a reality, with minimal setup time and limited operator training.
These machines not only use some centerless principles, but also incorporate Swiss-type machining using collets, a bushing and a grinding wheel. The CAM.2 is capable of grinding parts down to 0.0005 inch and can produce cardiovascular and neurological devices that require small diameters.
Making Grinding Easier
The CAM.2 was designed from the ground up to be easy to use and easy to set up and has the ability to grind unlimited shapes on wire with extreme tolerances. Wires with tolerances in the millionths as well as length tolerances of more than 0.003 inch can be easily achieved repeatedly with full feeding and extraction devices. The simple software interface runs G code in the background, but allows the user to set up complicated shapes without the need to know a programming language.
“The objective of this machine is to simplify human machine interaction to such a degree that any operator with basic training and no knowledge of machining can operate the system to produce micron tolerance parts simply,” say Mark Bannayan, V.P., Glebar Company. “As the cost of health care increases and the pressure of cost reduction increases as well, Glebar is responding with highly automated precision machining systems that anyone can operate.”
The operator enters part parameters, and the CAM.2 software generates a 3D image of the part on screen, guiding the operator to complete the setup. The repeatability and automation of the machine also allows one operator to run four machines. In some cases, two operators run more than 10 machines, according to Mr. Bannayan.
With medical device designs becoming more intricate, some wires require flats to be formed on 0.012-inch diameter wire where microchips are installed on the wire to provide diagnostic data to the doctor conducting the procedure inside the body. Some features also need to be abraded to provide a stable platform for installing these sensors. Glebar provides a sandblasting accessory tied to the CAM.2 where the flat is generated by the grinding system and sandblasted in one operation, creating a one-stop cell where the device is completed in one operation.
Eliminating Processes
Glebar worked with a large medical manufacturing company who was looking for a way to eliminate additional processes in guidewire production. The conventional process used several machines to profile a shape in an interventional guidewire. Glebar eliminated pre- and post processes by incorporating them on a CAM.2 machine in one operation. Wire can be supplied in cut form or loaded on the machine on a spool. Automation on the machine measures and cuts the wire to length, when supplied from a spool. It corrects any inaccuracies automatically and grinds both distal and proximal shapes. It then cuts the wire to final length, allowing for a single-machine, hands-off solution.
In a world of high-volume mass production, data acquisition is key to maintaining productivity and maximizing output. CAM.2 provides a multitude of data tags used by OEE systems, ERP and other management systems to track production and machine effectiveness. The machine also tracks human interaction for diagnostic and traceability purposes. The machine can be diagnosed by the company’s technical and service staff anywhere in the world to monitor equipment health and perform pre-emptive checks in an effort to maximize uptime.
Measurement
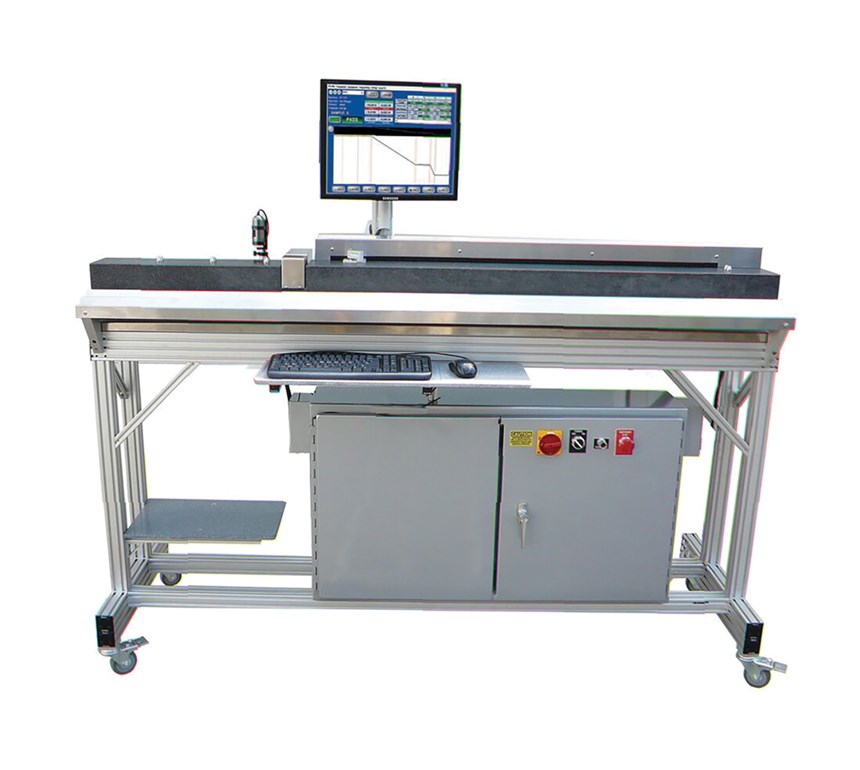
Inspection is a critical aspect in the process of machining medical devices. The P4K gaging system, an upgrade of Glebar’s analog system, brought the ability of the operator to accurately measure the wire, collect the data and provide SPC analysis quickly. The system can connect to as many as seven CAM.2 machines and provide feedback dimensions for size compensation and setup corrections.
“The inspection system was designed to inspect components ranging from medical guidewires and arthroscopic shavers to titanium fasteners with the push of a button,” Mr. Bannayan says. “It automatically communicates production results, enabling the most basic employee to measure complex dimensions.”
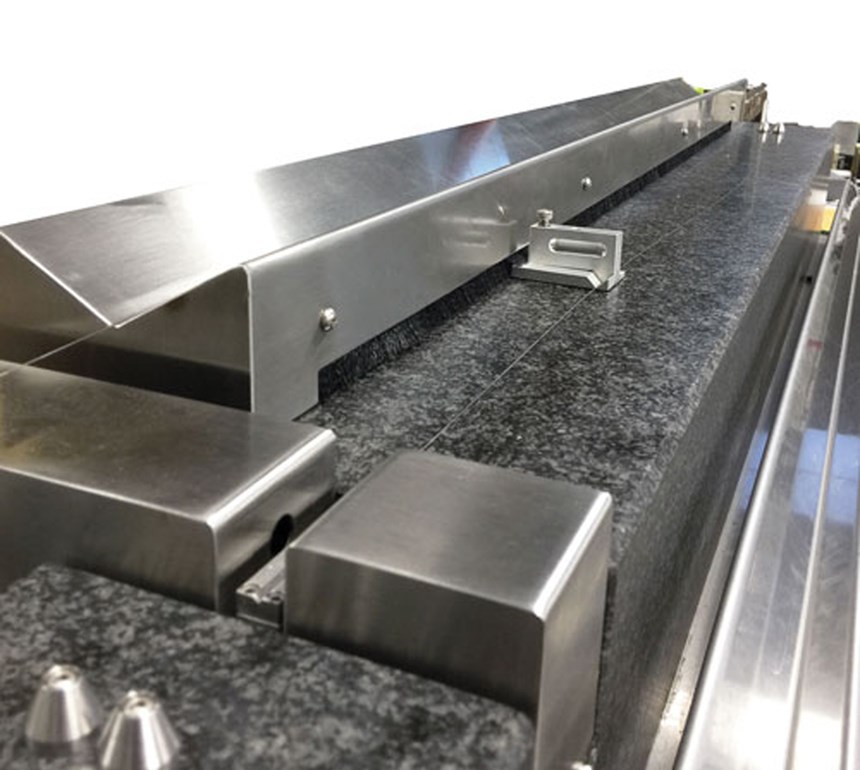
The hardware implementation of a laser diameter gage coupled with a smooth linear motor allows the system to capture diameter and length data at a high frequency. This ensures that small-diameter changes and surface imperfections are captured in their entirety.
From a data management standpoint, the scanned raw measurement can be saved to an SQL database for traceability at a future date. A sample measured anytime can be re-measured without having the physical part using the raw scanned data applied to different template criteria.
The P4K reads dimensions on multiple parts and feeds back dimensional data to correct the grinding machine. Capable of scanning multiple parts per pass and geometric profiles accurately at up to 3 inches per second, the gaging system enables machine operators and quality managers to quickly determine product quality on their manufacturing floor.
In today’s challenging manufacturing environment, machine tools are required to be multi-faceted and vertically integrated. There is constant pressure to incorporate the latest technology, since it is hard to absorb the cost of limited processes. This micromachining manufacturer gives its customers the ability to make parts to the most stringent requirements, all at faster rates and within a smaller machine footprint than traditional methods.
RELATED CONTENT
-
10 Tips to Get the Most Out of a Grinding Machine
Following these 10 steps can help grinding shops produce high-quality tools, increase productivity, reduce breakdowns and extend machine life.
-
Dressing Technique for Truing Up Diamond Grinding Wheels
This tapered diamond grinding wheel dressing technique, which takes place inside the machine, is used in production of high-precision profile inserts.
-
5 Grinding Considerations for Improving Surface Finish
Improving surface finish can be done by making adjustments to one or more of these points: operational parameters, wheel dressing, grit size, coolant delivery and machine condition.


