Gaging’s Value for Effective Unattended CNC Machining
Process control is a bigger deal for high-volume CNC machining operations to eliminate scads of scrap/rework because a problem was not identified early on.

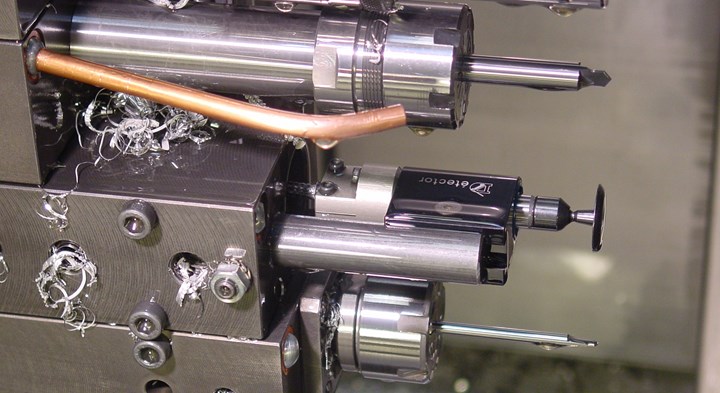
The broken tool detector type 404 from SPC Innovations combines an electric motor and encoder. This enables detection of tools from both directions as well as the presence of chips around the tools. (All images courtesy of SPC Innovations.)
With unattended machining continuing to evolve comes increased need for process monitoring and predictive analytics to support lightly or fully unattended operation.
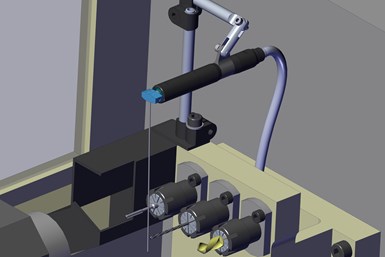
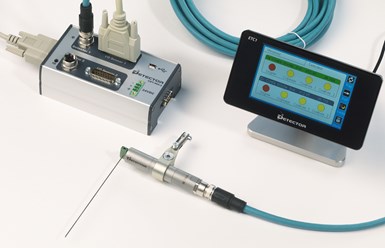
For example, in order to establish confidence in unattended machining processes, parts must be regularly measured for dimensional control and tools as well to detect wear and breakage. SPC Innovations now offers its Detector in-machine broken tool and part gaging system. The system consists of a universal industrial touchscreen that can be used to program and monitor wand-type, electronic contact sensors with encoders that are configured for either tool/part presence or part measurement. In-process part measurement of critical part attributes enables automatic changes to tool offsets to compensate for tool wear. It can also automatically reject parts found to be bad due to an anomaly such as a misload.

The Detector series features a modular design that is said to offer easy calibration and configuration of various sensors based on a specific part while enabling the system to be installed on other machines.
The new system accommodates as many as 16 sensors. The machine’s own material handling capability can be used to move a part to a sensor or a cross slide can be created to bring a sensor to a part to measure its diameter, length and more. The modular design is said to offer easy calibration and configuration of various sensors based on a specific part and enables the system to be installed on other machines. Plus, such automatic in-machine inspection can remove a significant amount of manual part sorting and measurement, and physical contact with the parts.

The new system accommodates as many as 16 sensors.
This supports the notion that automation is more than robotics, a trend highlighted in a recent story featuring other technology streamlining machining processes in similar ways.
RELATED CONTENT
-
The Difference Between Ra and Rz
While it is best to measure using the parameter specified in the print, there are rules of thumb available that can help clear up the confusion and convert Ra to Rz or Rz to Ra.
-
How to Choose and Use Styli
The variety of probe applications on machine tools, CMMs, comparative gages and portable arms makes correct selection of styli usage essential for efficient, reliable and accurate measurement. Here are some key points that can be helpful in choosing the best measurement solution.
-
An Overview of Metrology for Precision Machining
Metrology helps precision manufacturers ensure the parts they produce fit and work as intended, despite the different languages, processes and measurement systems used.


